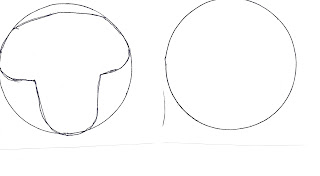
I like to cut the pattern out and use as a template . Felt the circle building it into a firm dome shape about 2cn in the center. This will give the face more shape. (not shown here) Using a core wool felt the T shape about 1 cm thick . First we'll work on the T shaped piece
TIP: make sure the pupils are vertical not crooked like mine
Felt the triangular piece over the top of the nose and forehead .
Be careful that you don't loose the shape of the eyes .
Felt two small triangles of wool to the back of the head in the position shown. This will be the inner ear so you could use pink here
A small triangle of
pink felt will make the nose or you could add a bought nose.
As you attach the nose , felt the tip to look like the photo
As you attach the nose , felt the tip to look like the photo
.
Felt two ears in the
main colour about 8 cm long. If making a flat face for a picture Attach the
ears now. Felt the excess wool to the back of the head. If making a full head
save the ears till later
An odd looking Cat but I thought it would be good to see a before and after .
1 Add white merino to cheeks and chin.
2 Not shown in this photo but cover the nose in the main colour merino
3 Cut the merino top coat colour into approx 2.5 cm lengths . Start at the outer edge and build up layers of fur. You can felt onto the white around the eyes but be careful not to lose their shape See following photos
So hard to show you .Lay a row of cut wool and felt along the centre , Turn back the edge and felt along the turned back edge
Keep filling in the wool. This photo shows the wool being attached to the nose ready to fold back.
He looks a bit cross .So fed up with being needled all day I've used grey to outline the mouth. He needs a haircut and some more tweaking but I think we now have a cat.
https://www.facebook.com/IFeltTheLove/


